- TOSIZE.fr
- Do it yourself
- DIY Projects
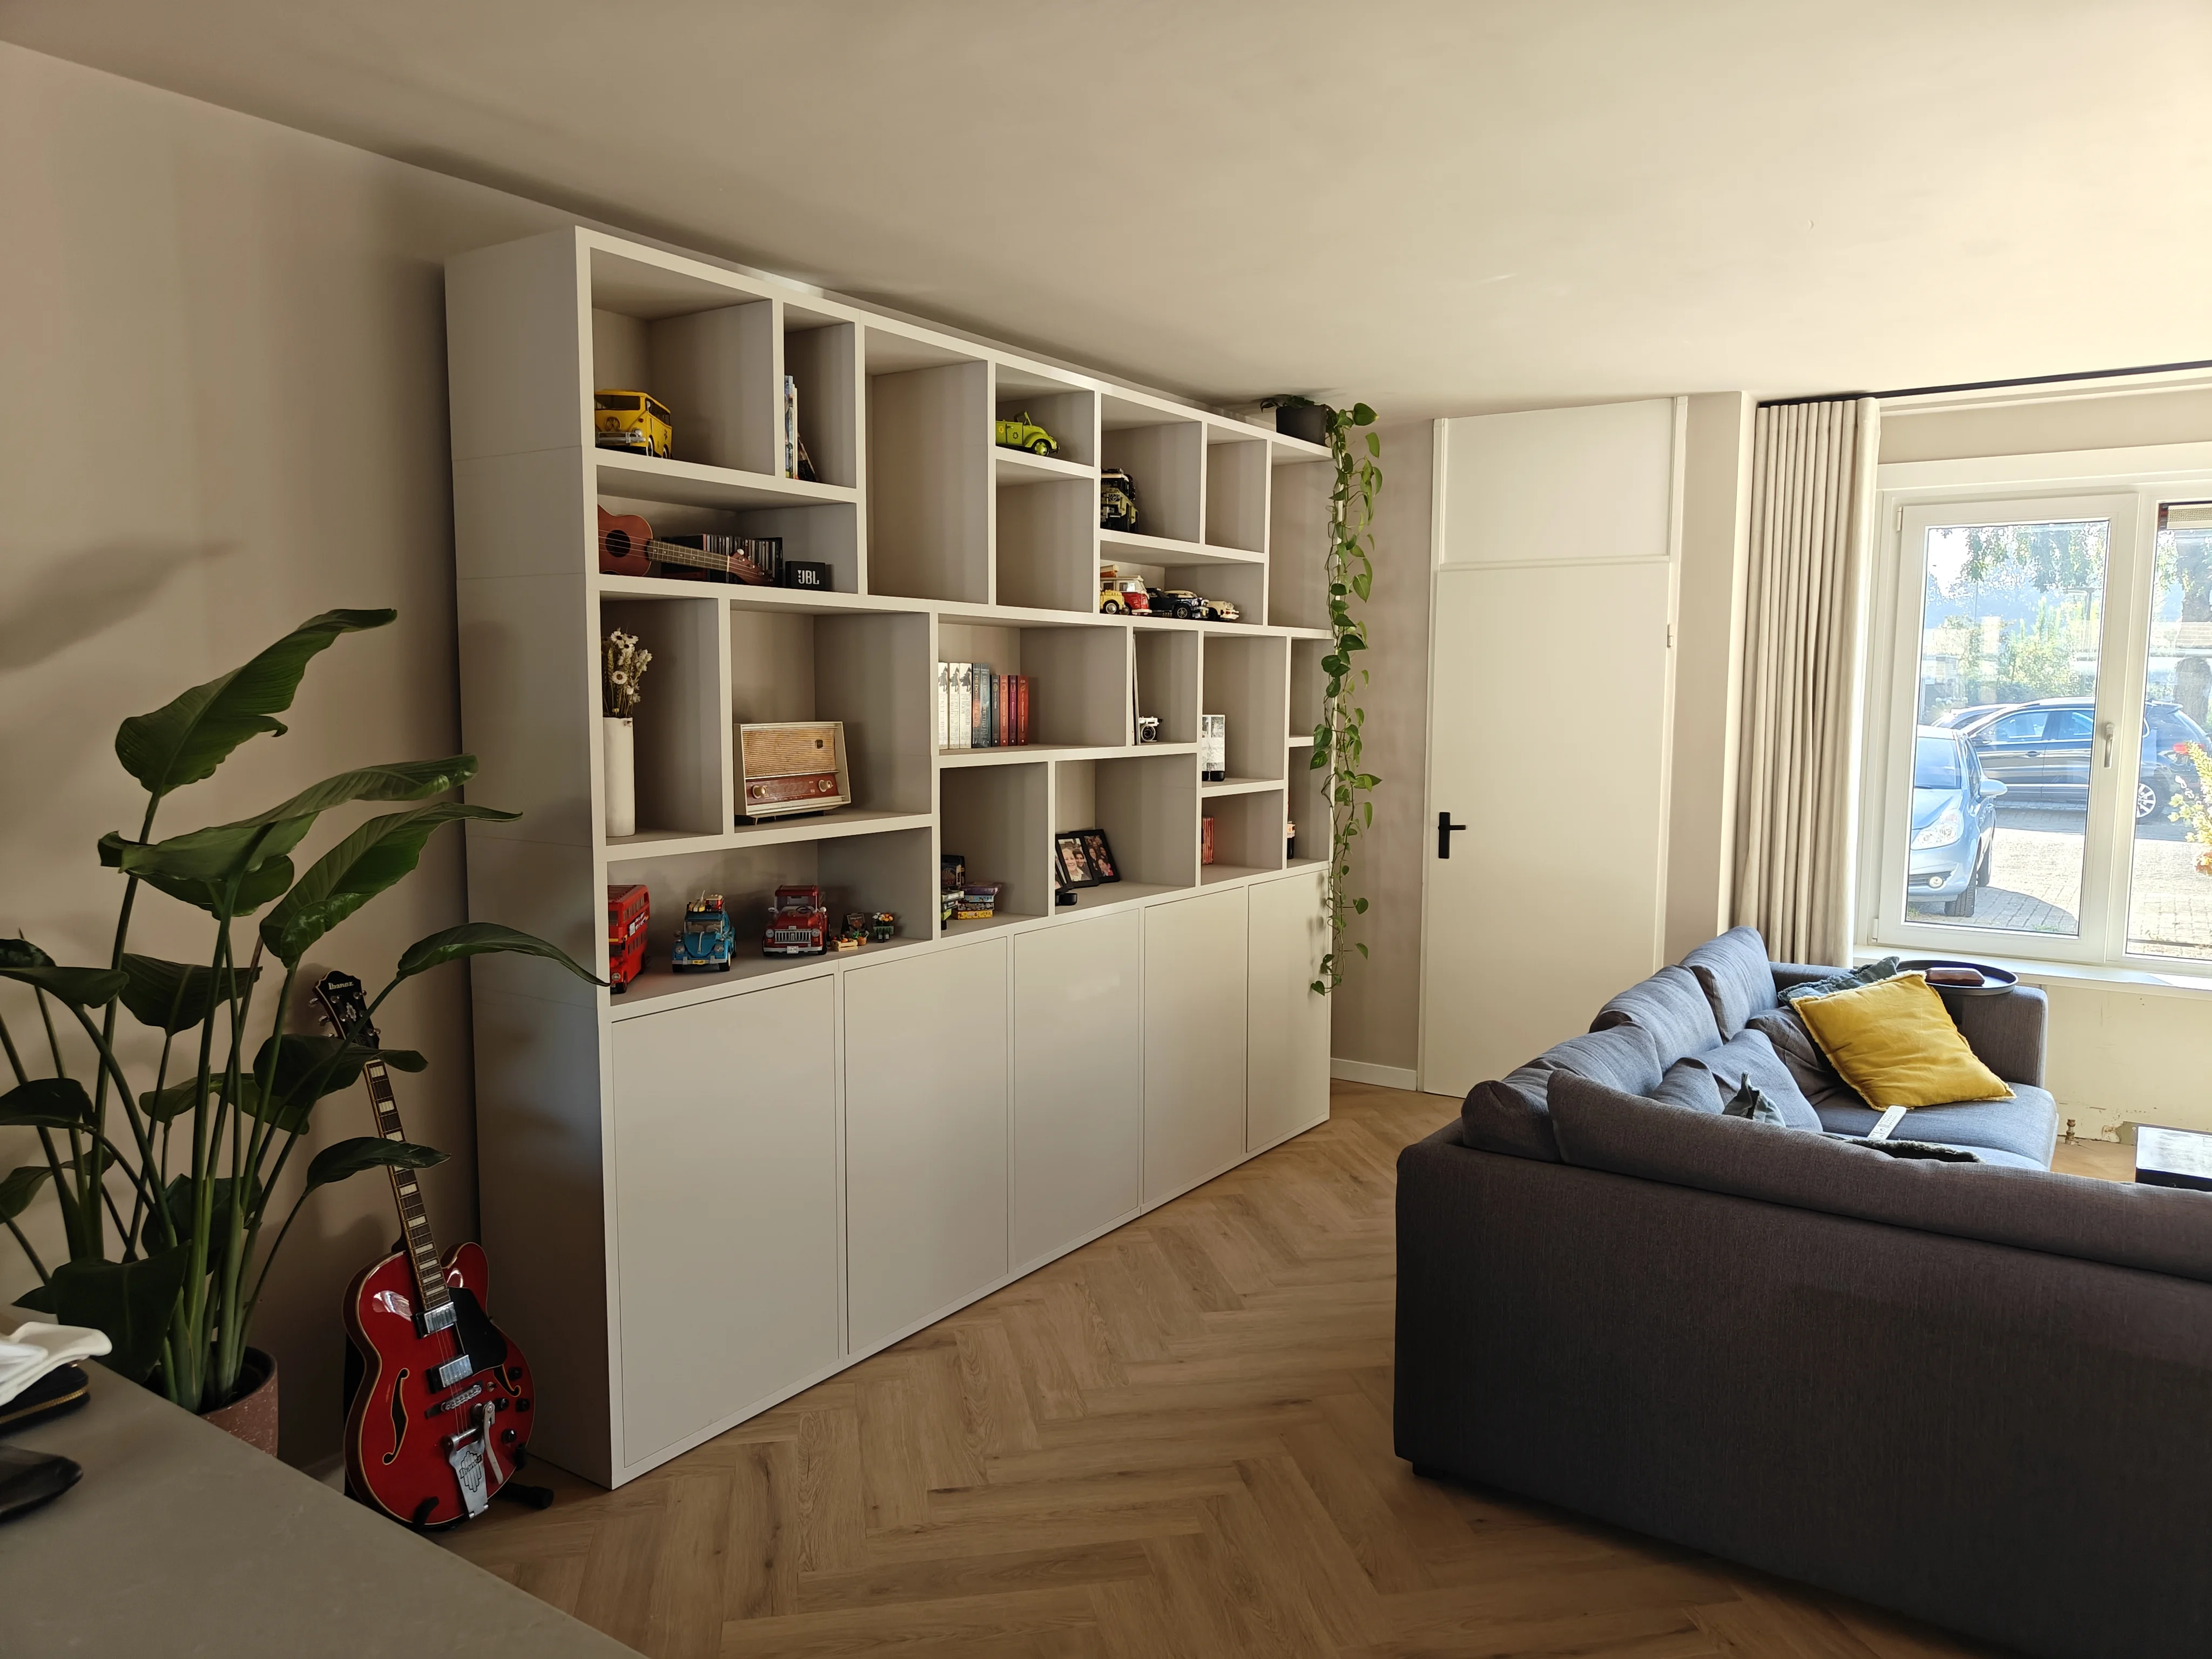
Storage cupboard, by Heleen
Storage cupboard, by Heleen
Make this furniture yourself using TOSIZE.fr
Heleen
Average
2 minutes
Description by Heleen
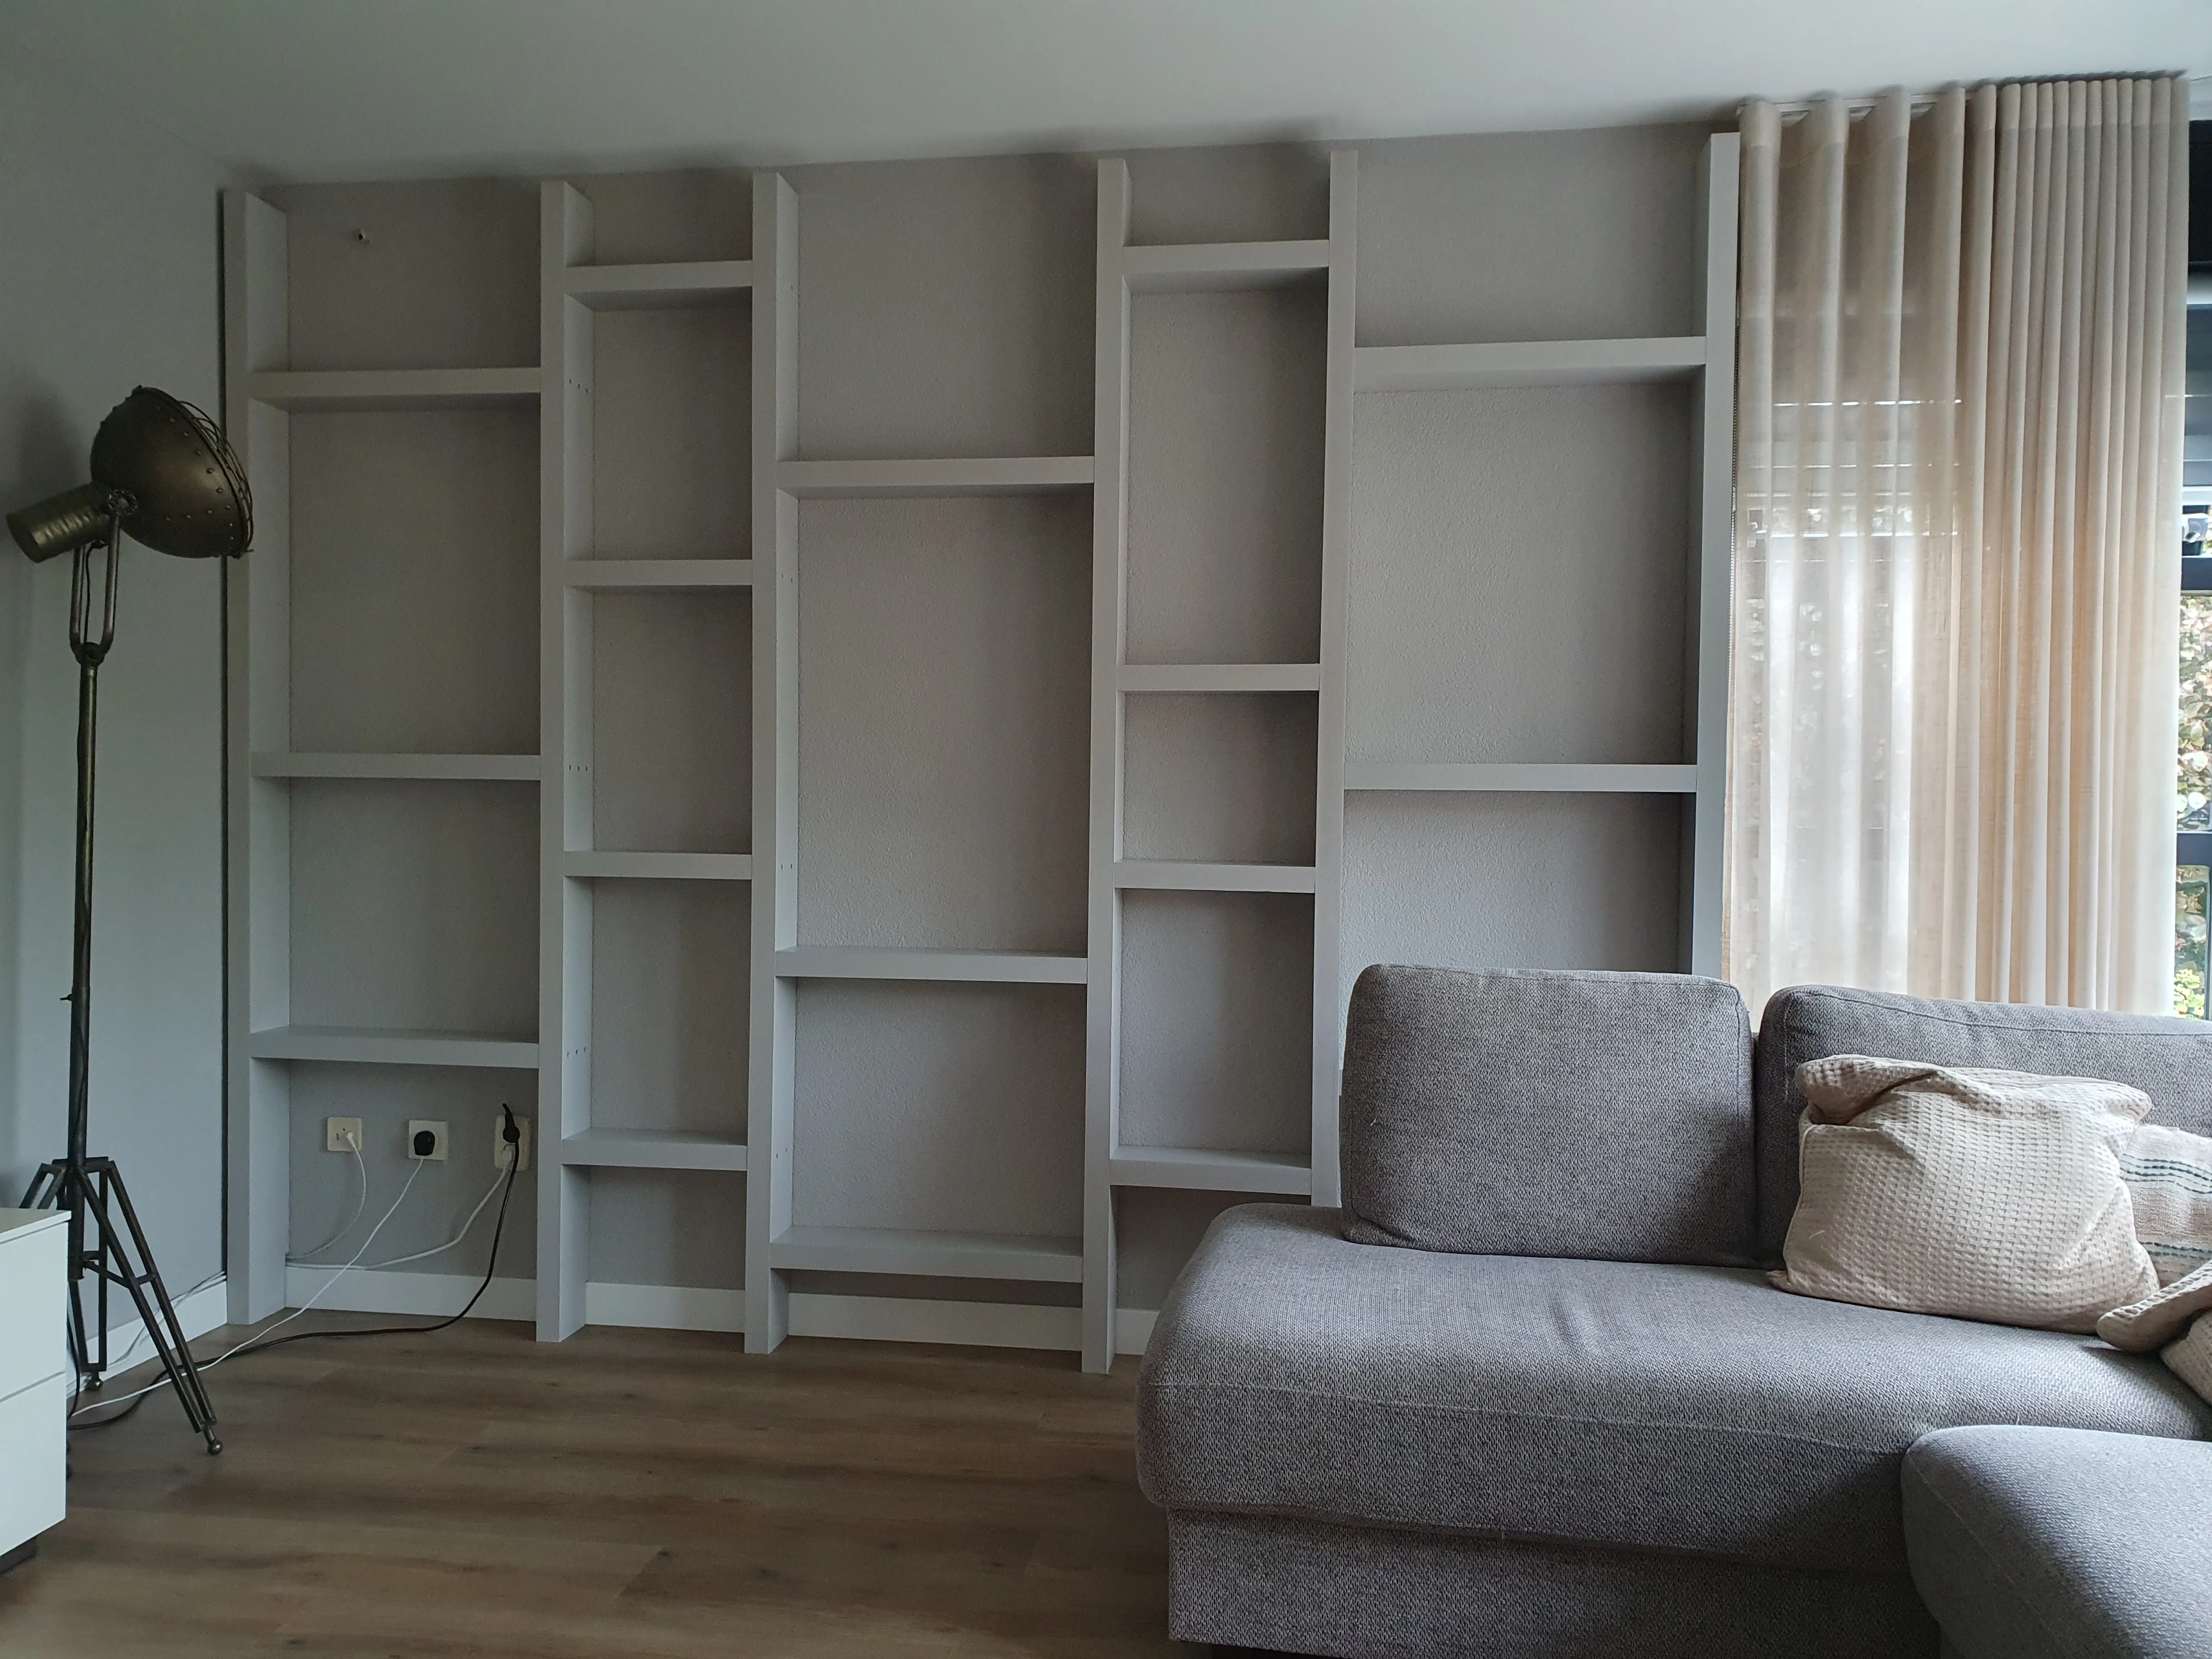
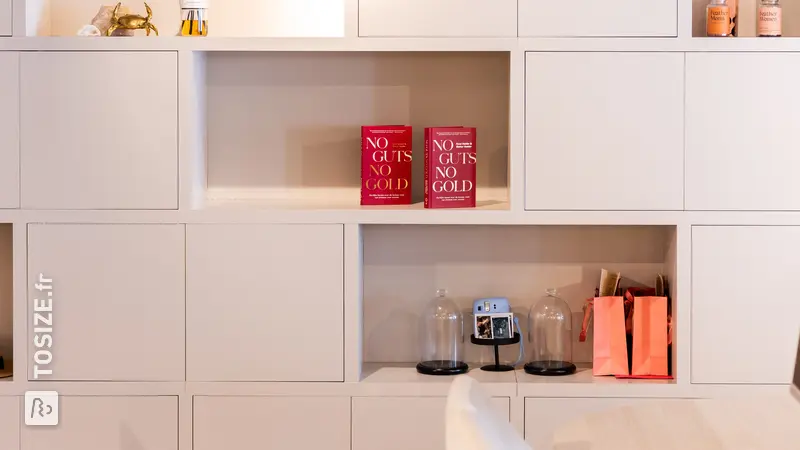
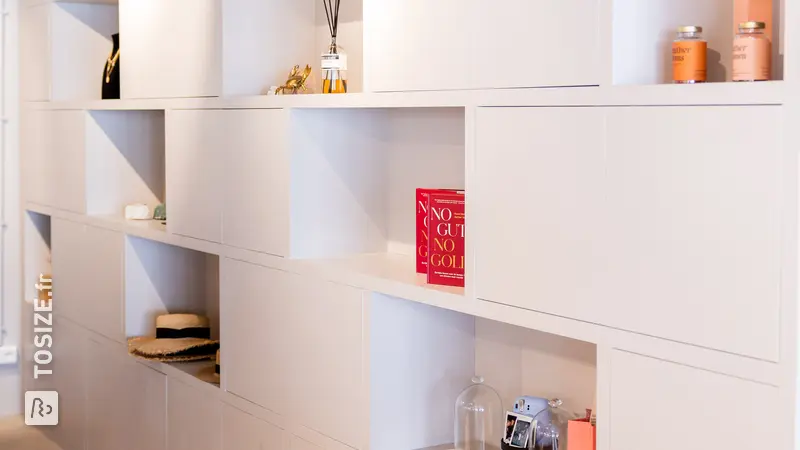
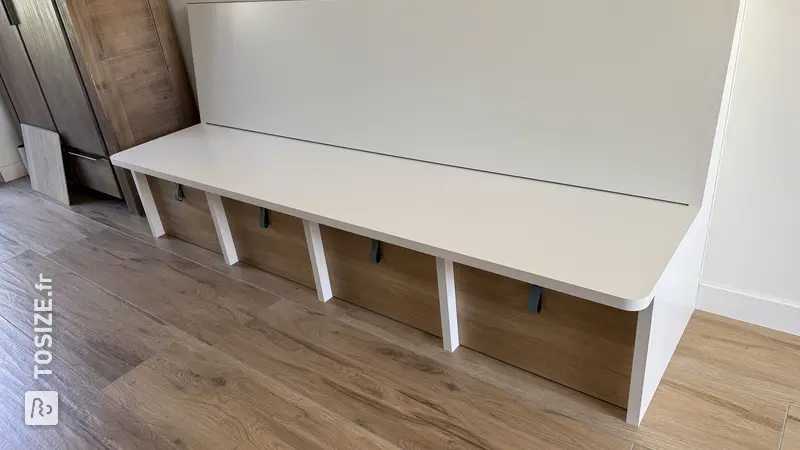
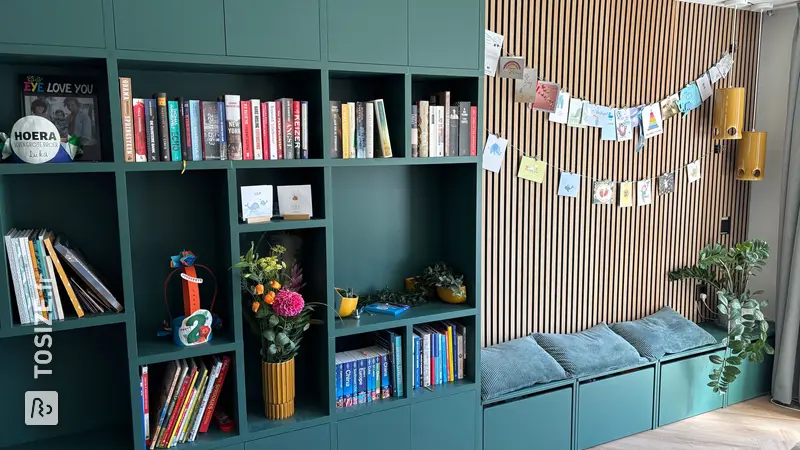
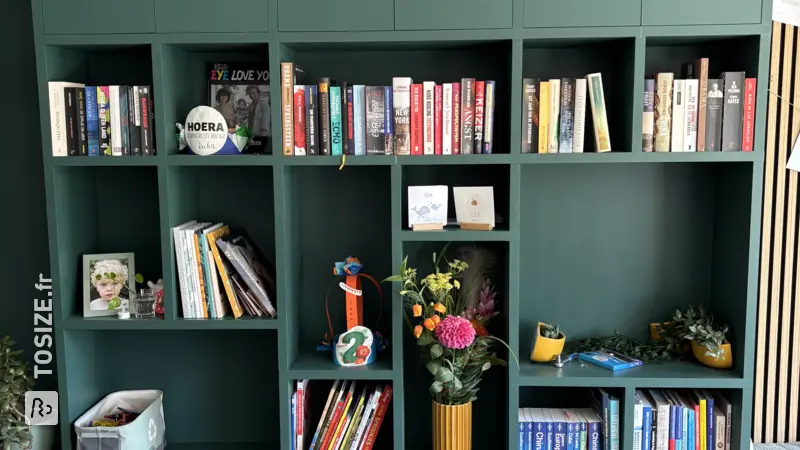
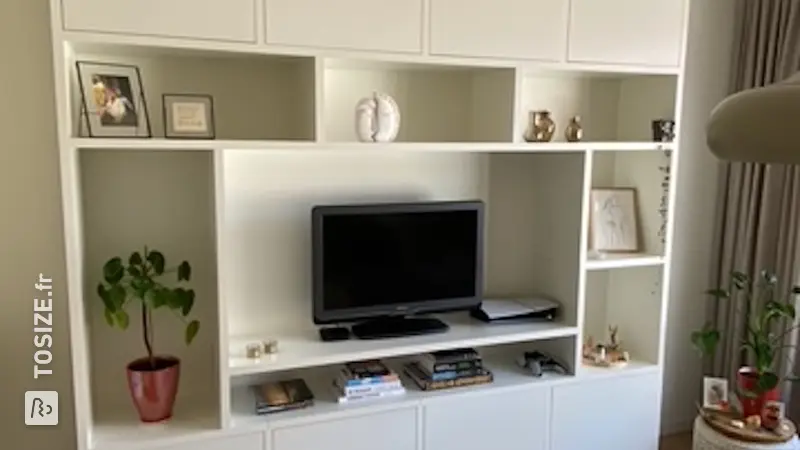
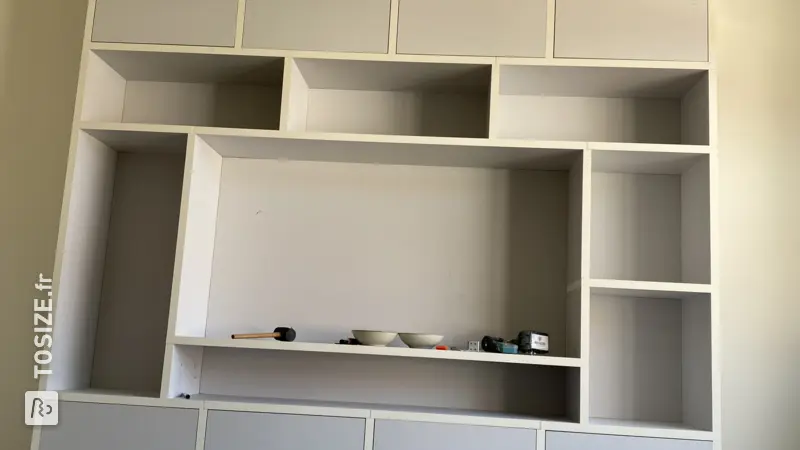
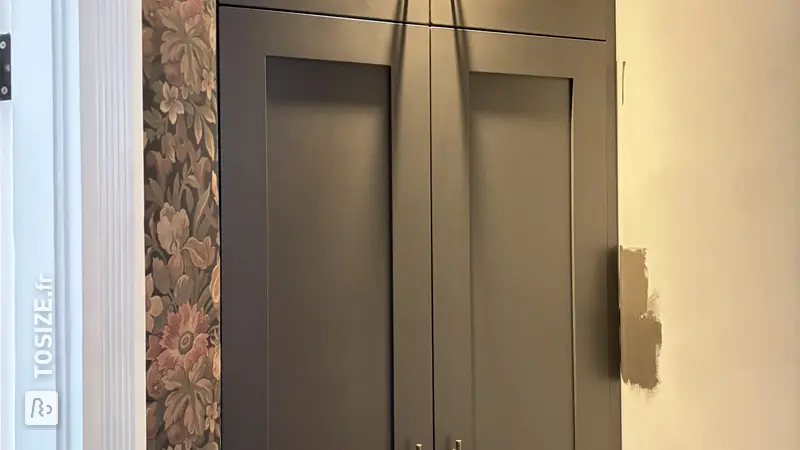
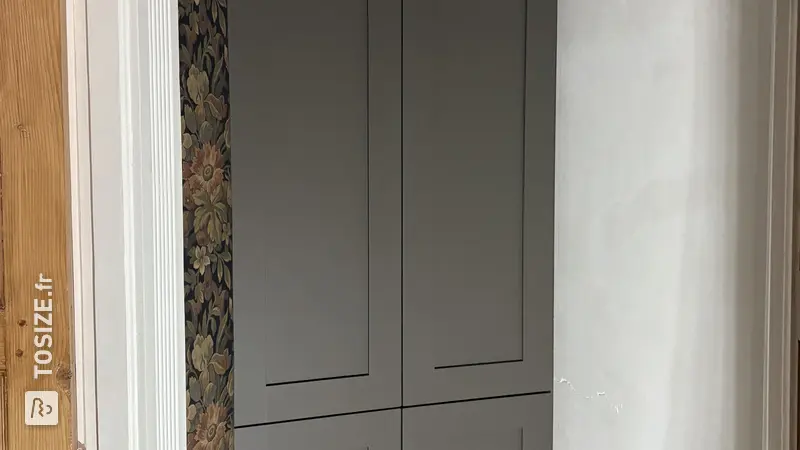
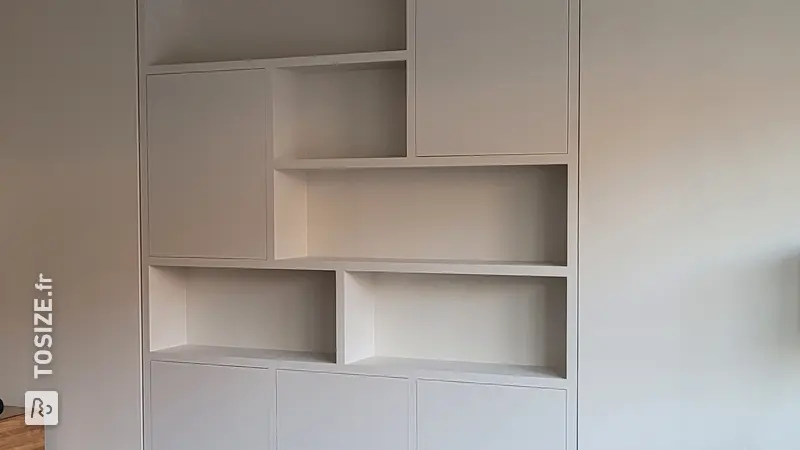
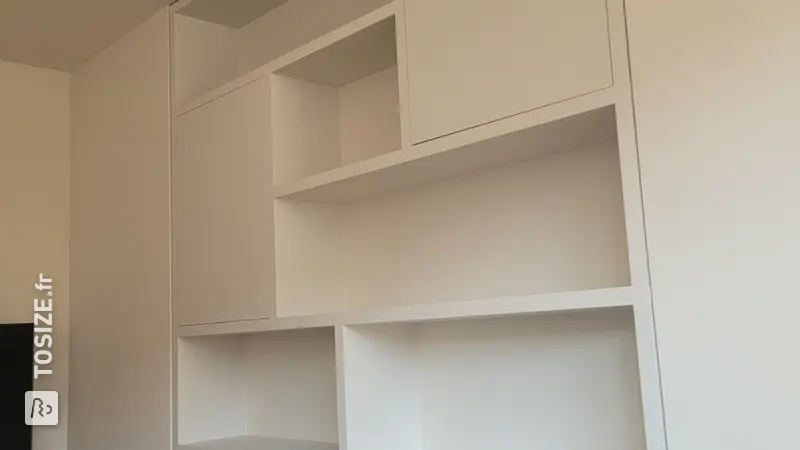
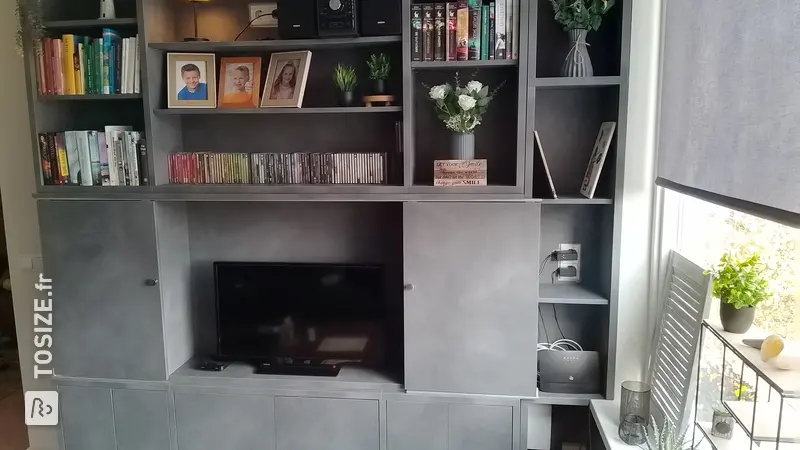
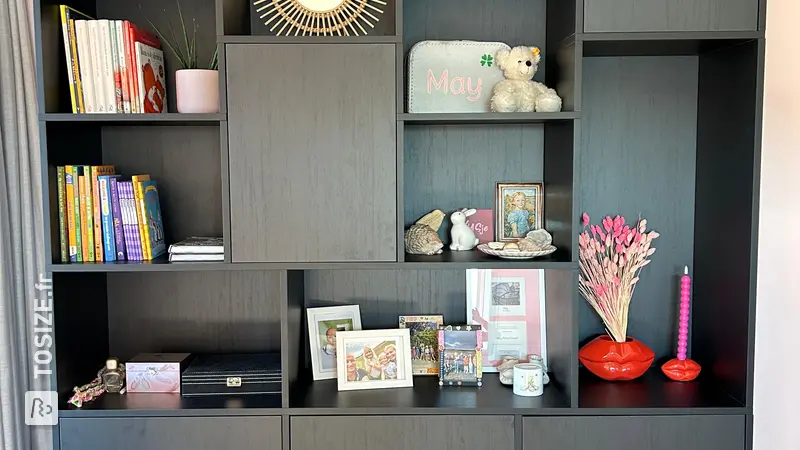
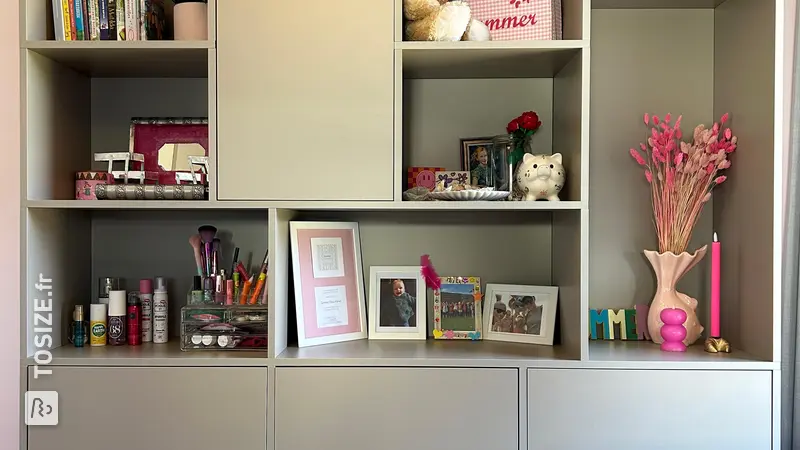
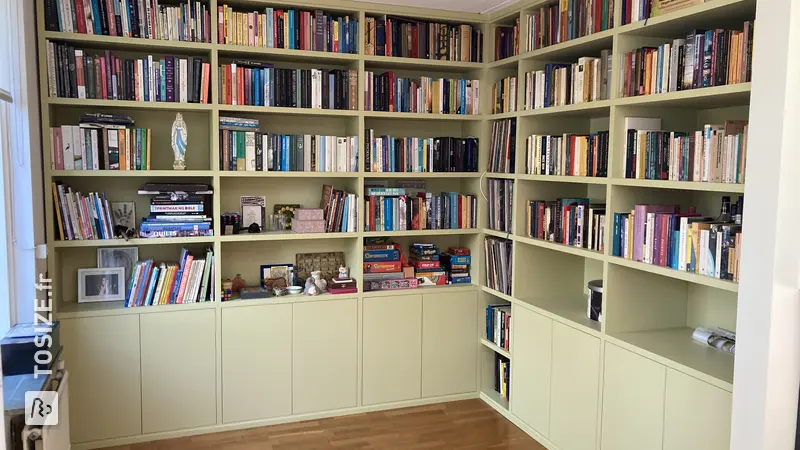
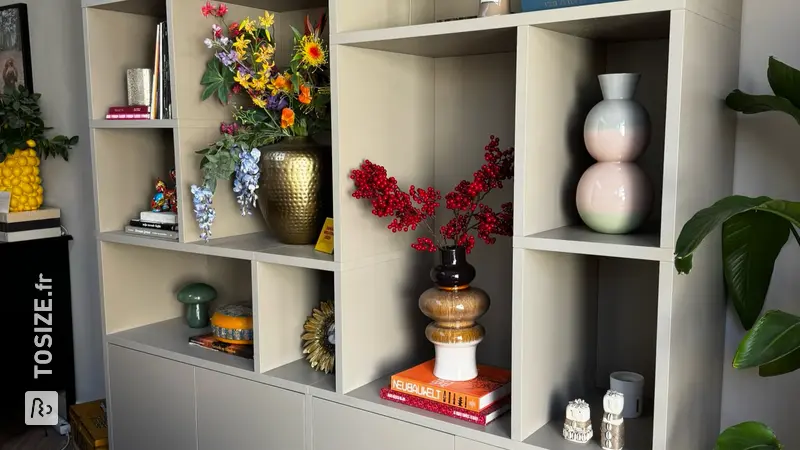
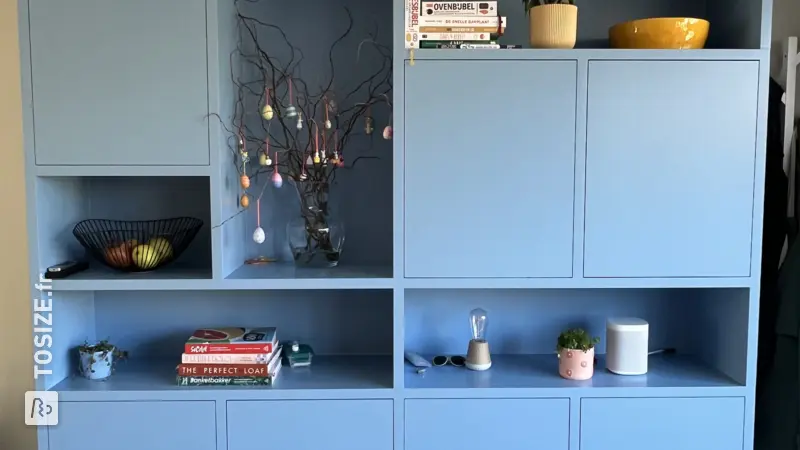
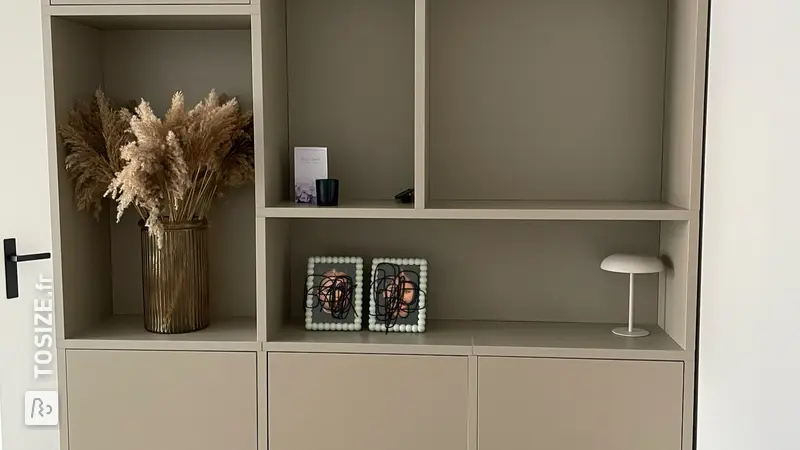
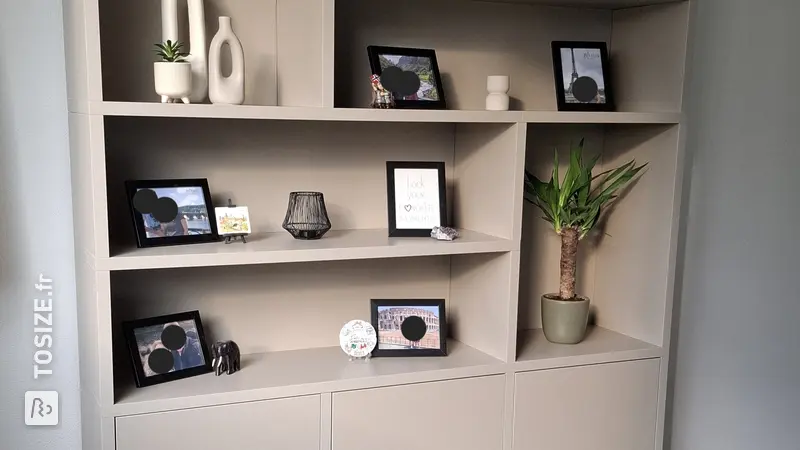
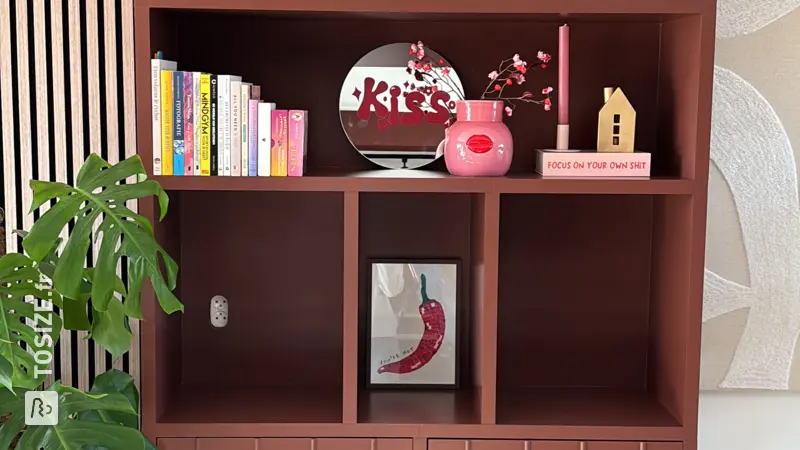
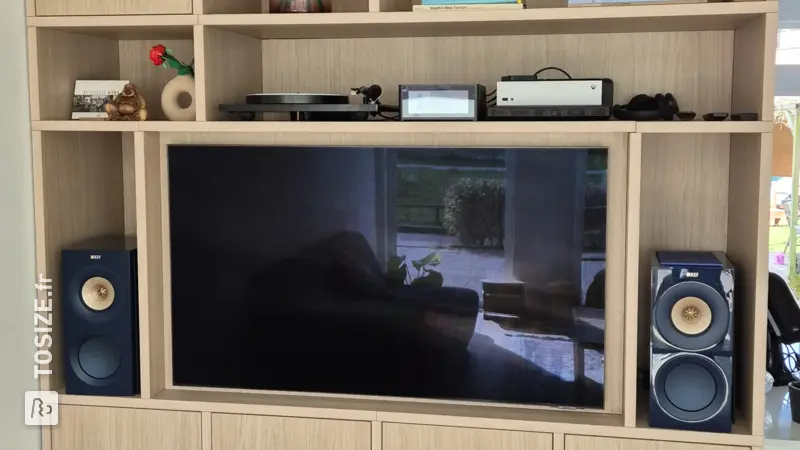
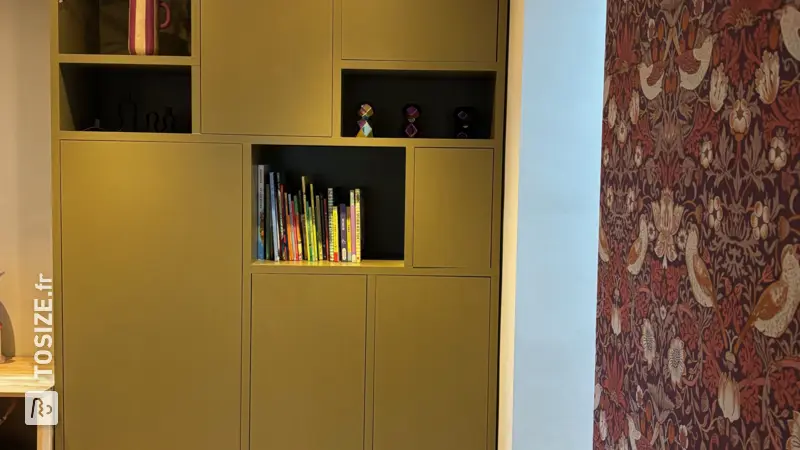
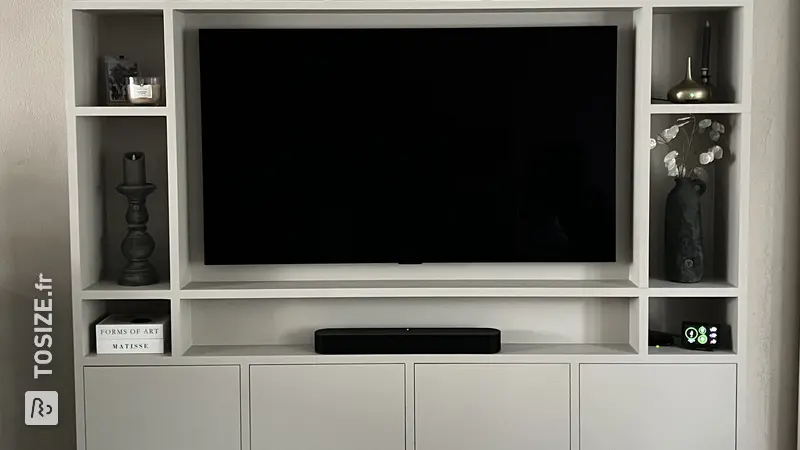
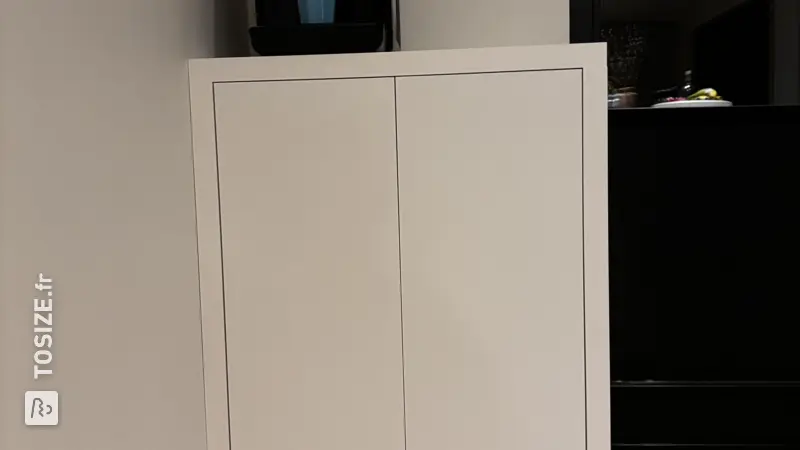
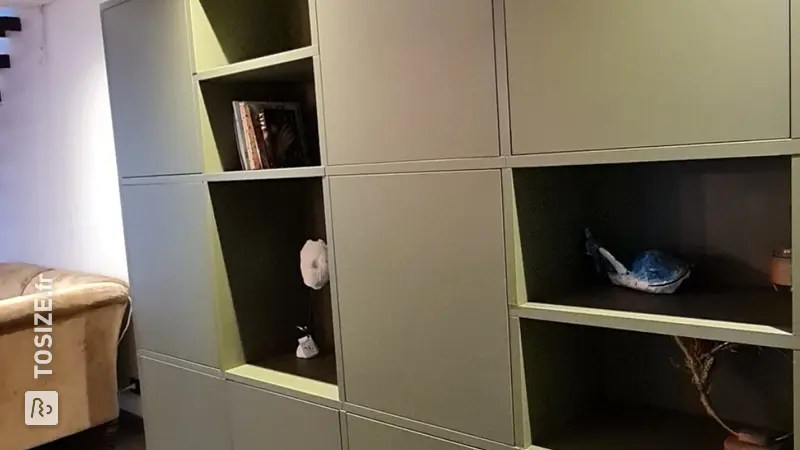
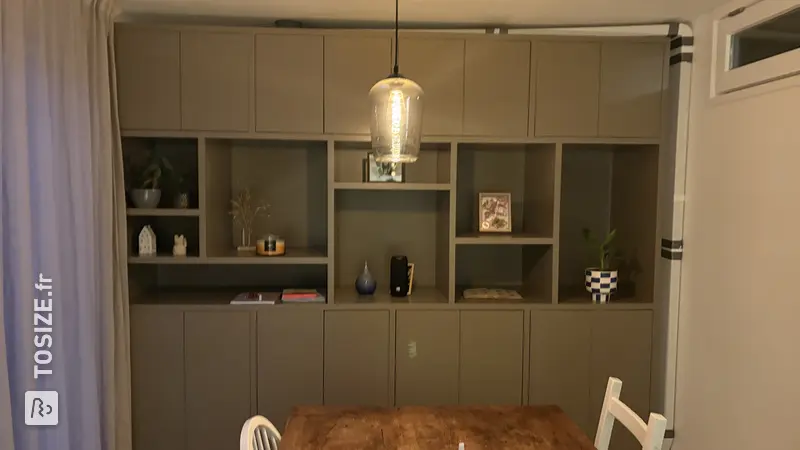
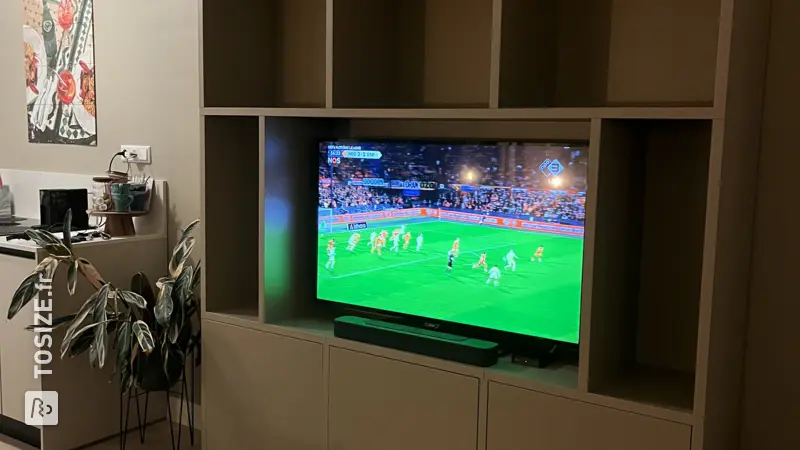
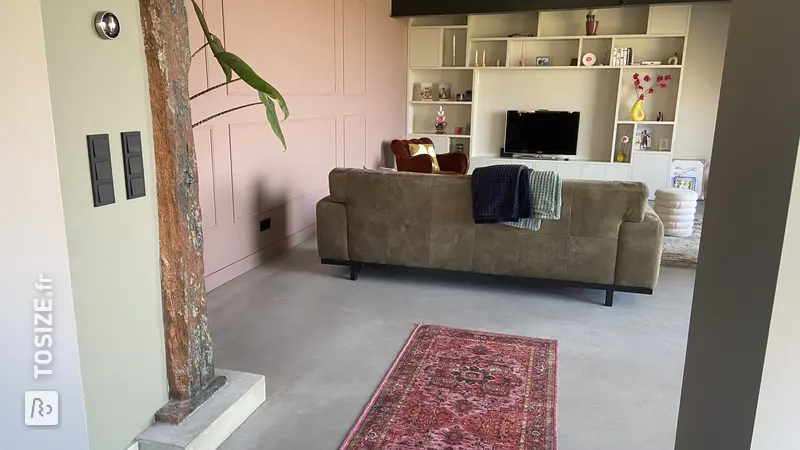
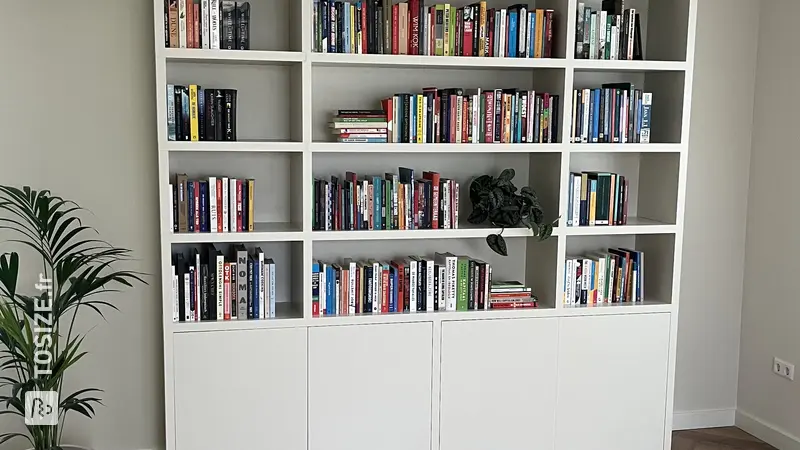
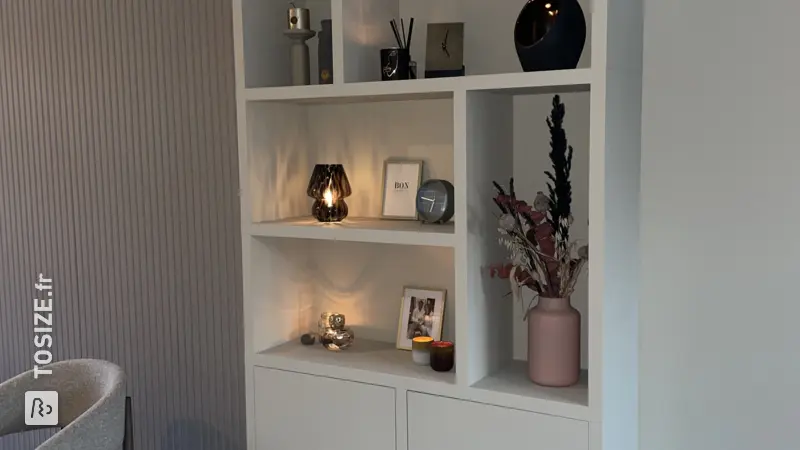
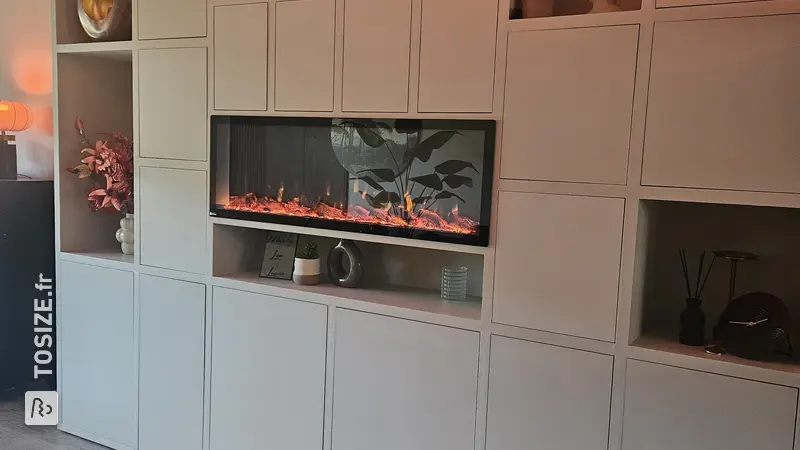
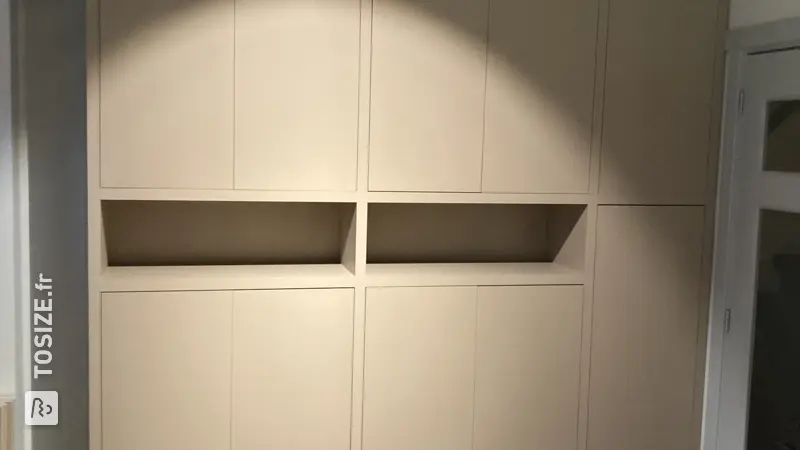
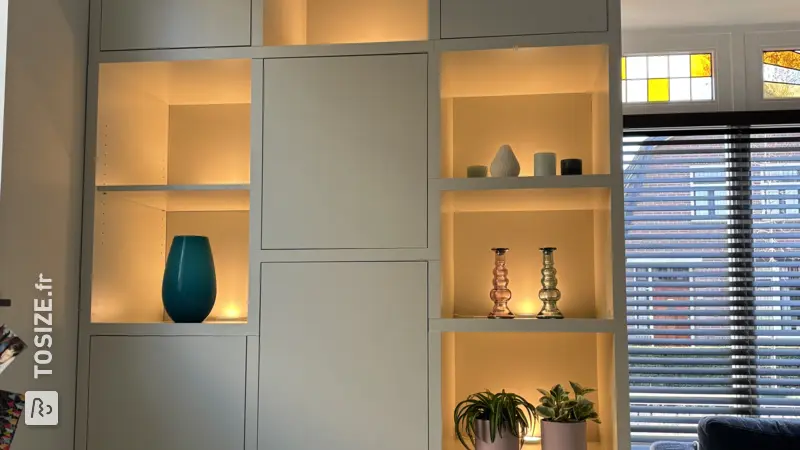
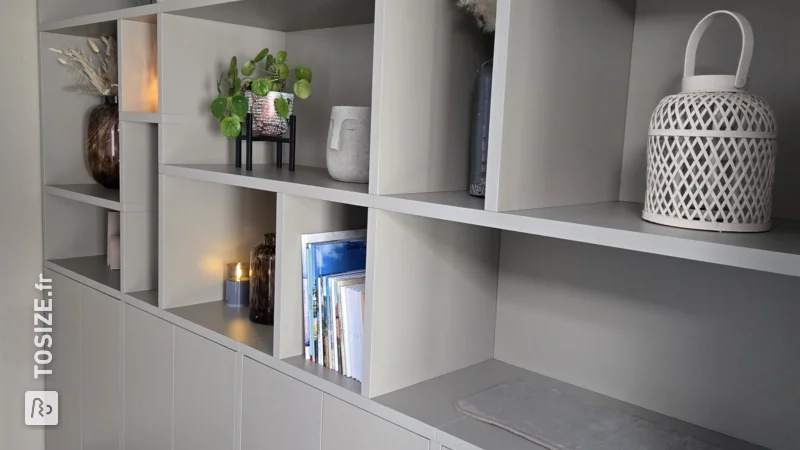
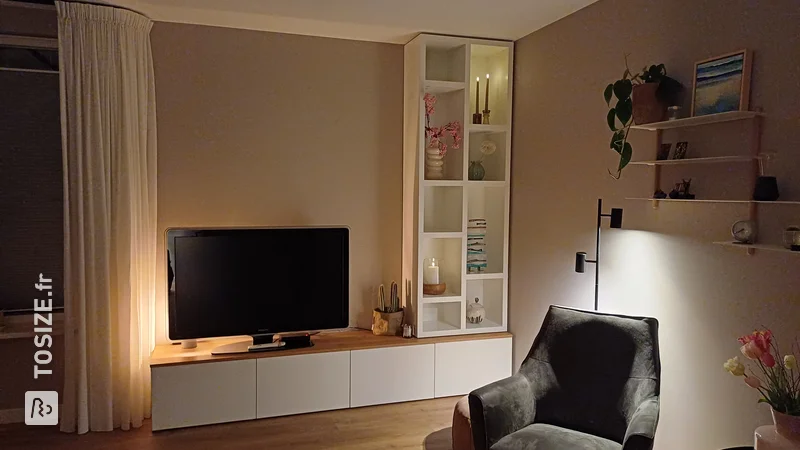
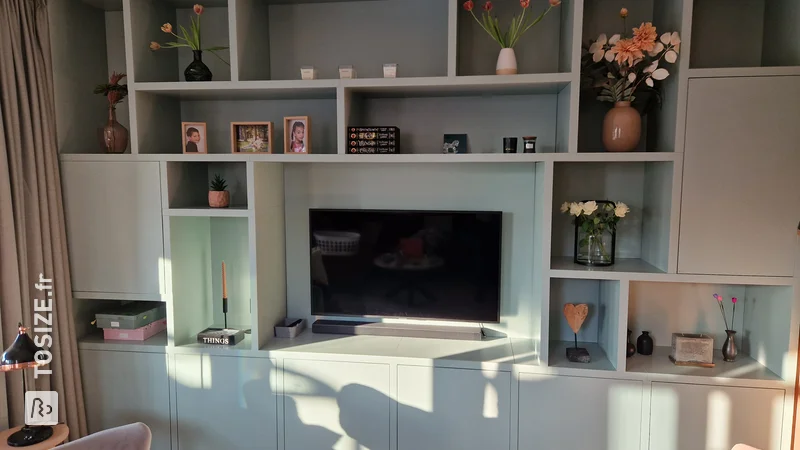
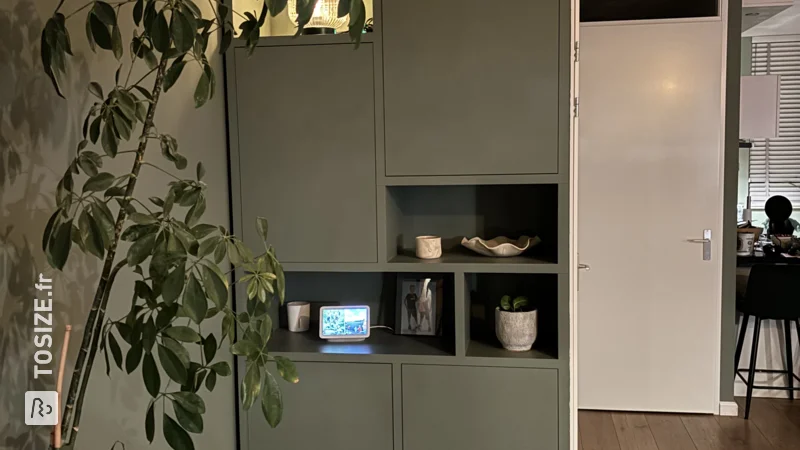
We have been wanting a closed cupboard for some time. Unfortunately we couldn't find a suitable cabinet in the store. After some searching on the internet we came across TOSIZE.fr. We received good help there and we first made a sketch. Later we applied the sizes we wanted. Finally, we had the parts delivered to your home and we put it together. It has become a partially closed cupboard (see photos). We are very satisfied with the result.
How I made this project
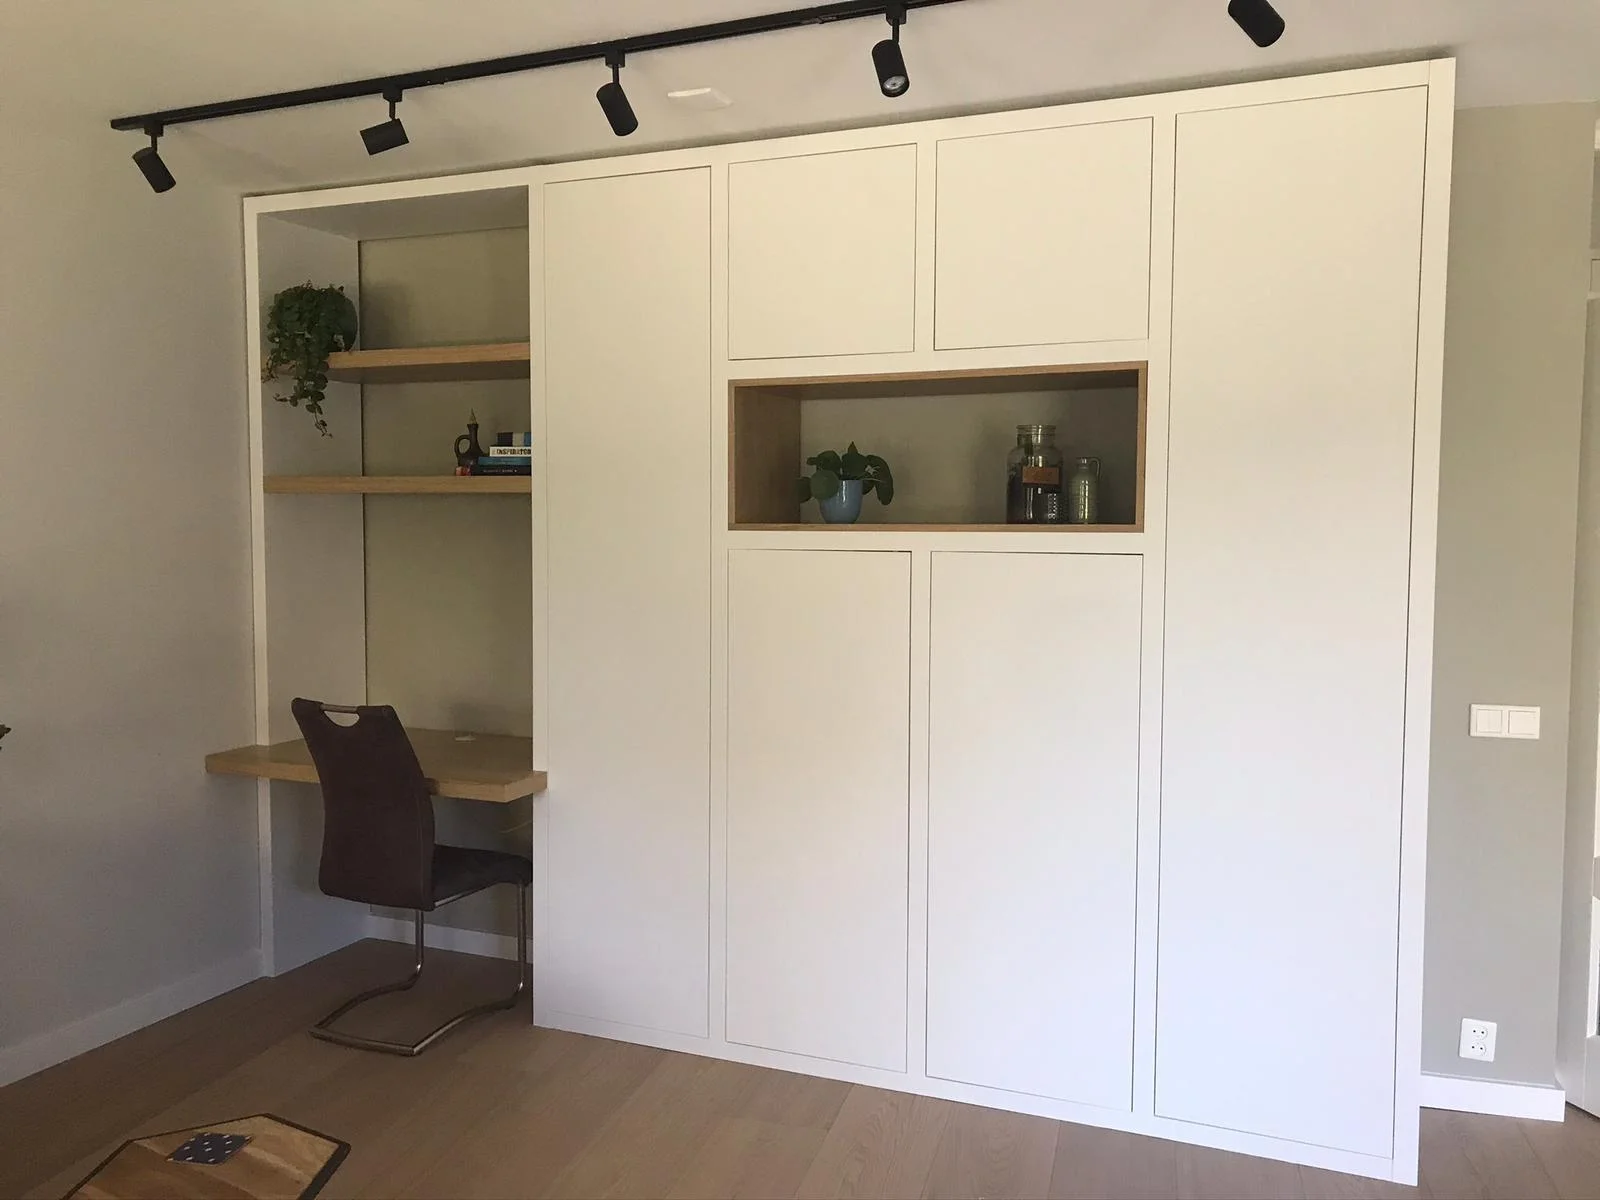
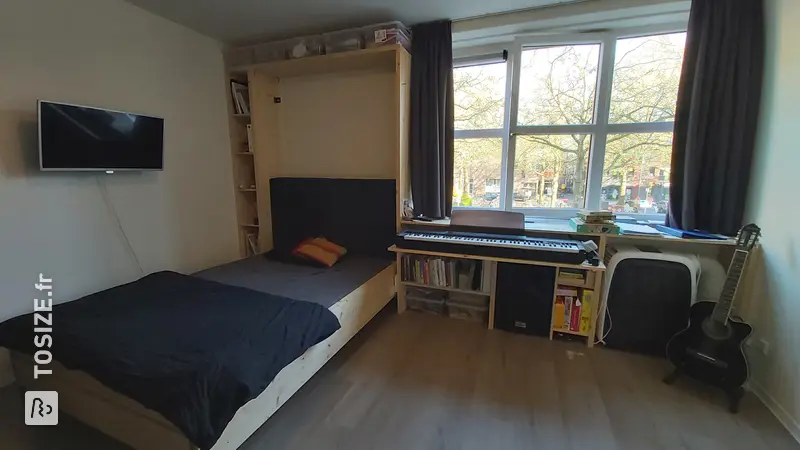
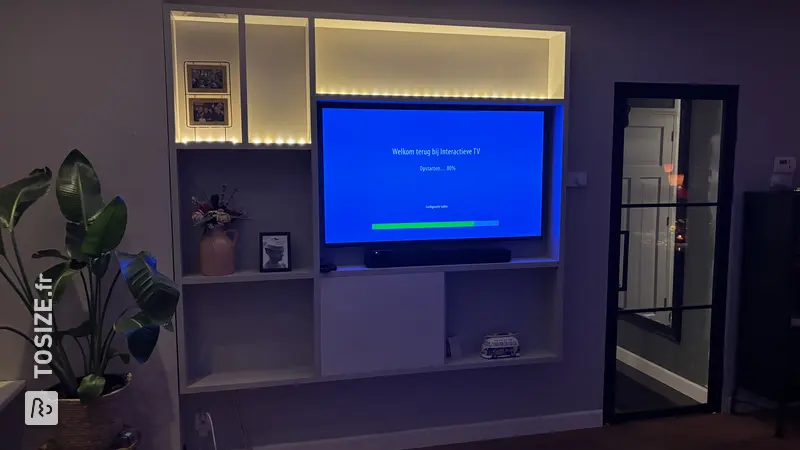
First we took the dimensions of the room. We then sat down at the computer and designed the cabinet using a design tool from TOSIZE.fr. I received great guidance from TOSIZE.fr during this process via Teams. This was very nice and well thought out. For example, about how the doors should open and which sizes were useful. The parts of the cabinet were delivered neatly. There were stickers on all shelves that corresponded to the instructions we had received. First we sorted all the planks so that the construction process could proceed smoothly. We then adjusted the bottom shelves properly with a spirit level and feet. We then built up the layers. Once the cabinet was assembled we started painting it. We had not yet connected the doors to the cupboard and varnished them separately. We did the painting with a roller. This went well. Once all parts were painted, we secured the doors in the cabinet. By the way, before painting I treated the cracks with paintable sealant. To do this, I ran the sealant along the cracks and then smoothed it neatly with a wet finger. Once the entire cabinet was assembled and varnished, we left it alone for a few days so that it could harden properly. Then it is filled. As you can see, we have also incorporated spotlights into the cupboard. These are spots from IKEA, MITTLED. We built this into the cupboard before we started painting. We made channels at the back of the cabinet in which the cable of the spotlights could be nicely processed. The spotlights include a remote control (RODRET, IKEA) and the spotlights can be muted. Fortunately, there is a socket right next to the cupboard, so we could easily connect the cables.
Dimensions of my DIY project
260x220x50 cm
Tip! Also check out our handy DIY tips!
What now?
Do you want to create this DIY project? This piece of furniture is part of our TOSIZE Furniture collection. Design your personalized, custom-made furniture using our 3D configurator! Want more information? Learn more about available colors, assembly, or browse all frequently asked questions. You’ll receive a TOSIZE Furniture package, including an installation kit.
2 763,00 €
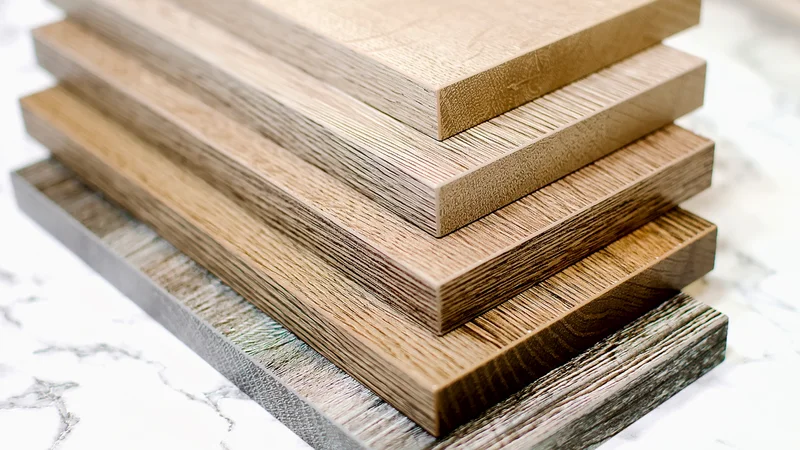
All materials used
View all furniture
085 888 29 55