- TOSIZE.fr
- Do it yourself
- DIY Projects
New custom-made concrete plywood panels for under the front doormat, by Roel
New custom-made concrete plywood panels for under the front doormat, by Roel
Create this project yourself with sheet material cut to size by TOSIZE.fr!
Roel
Easy
1 minute
Description by Roel
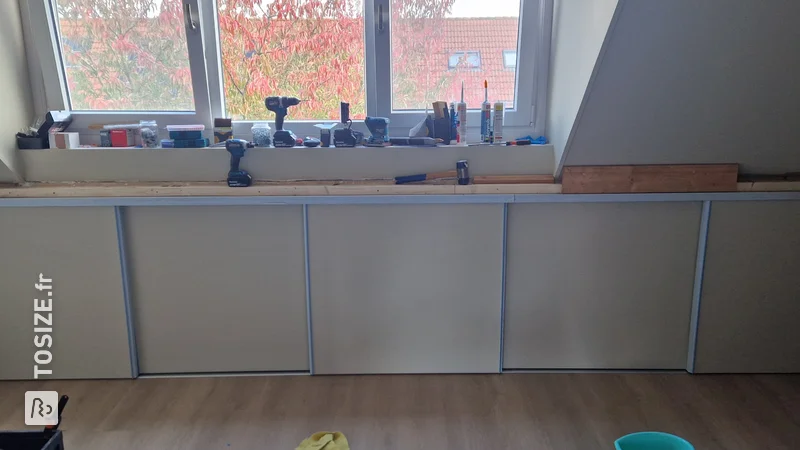
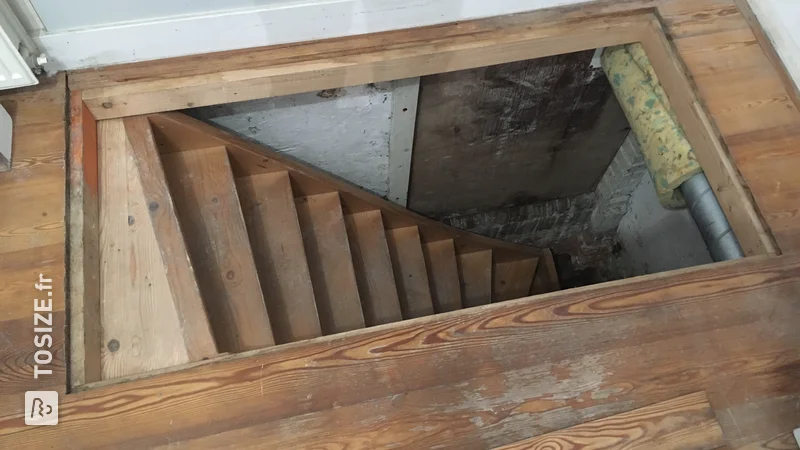
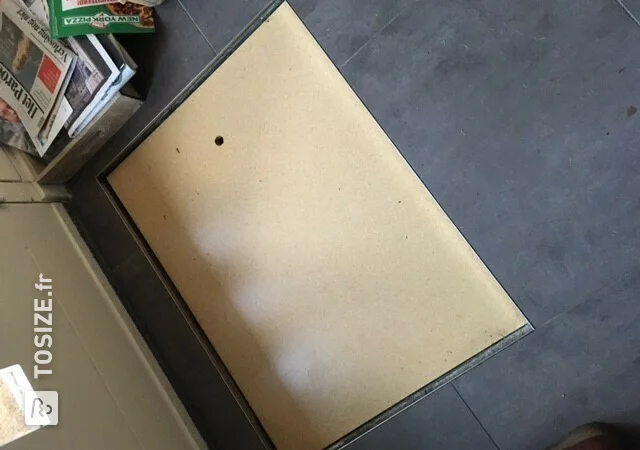
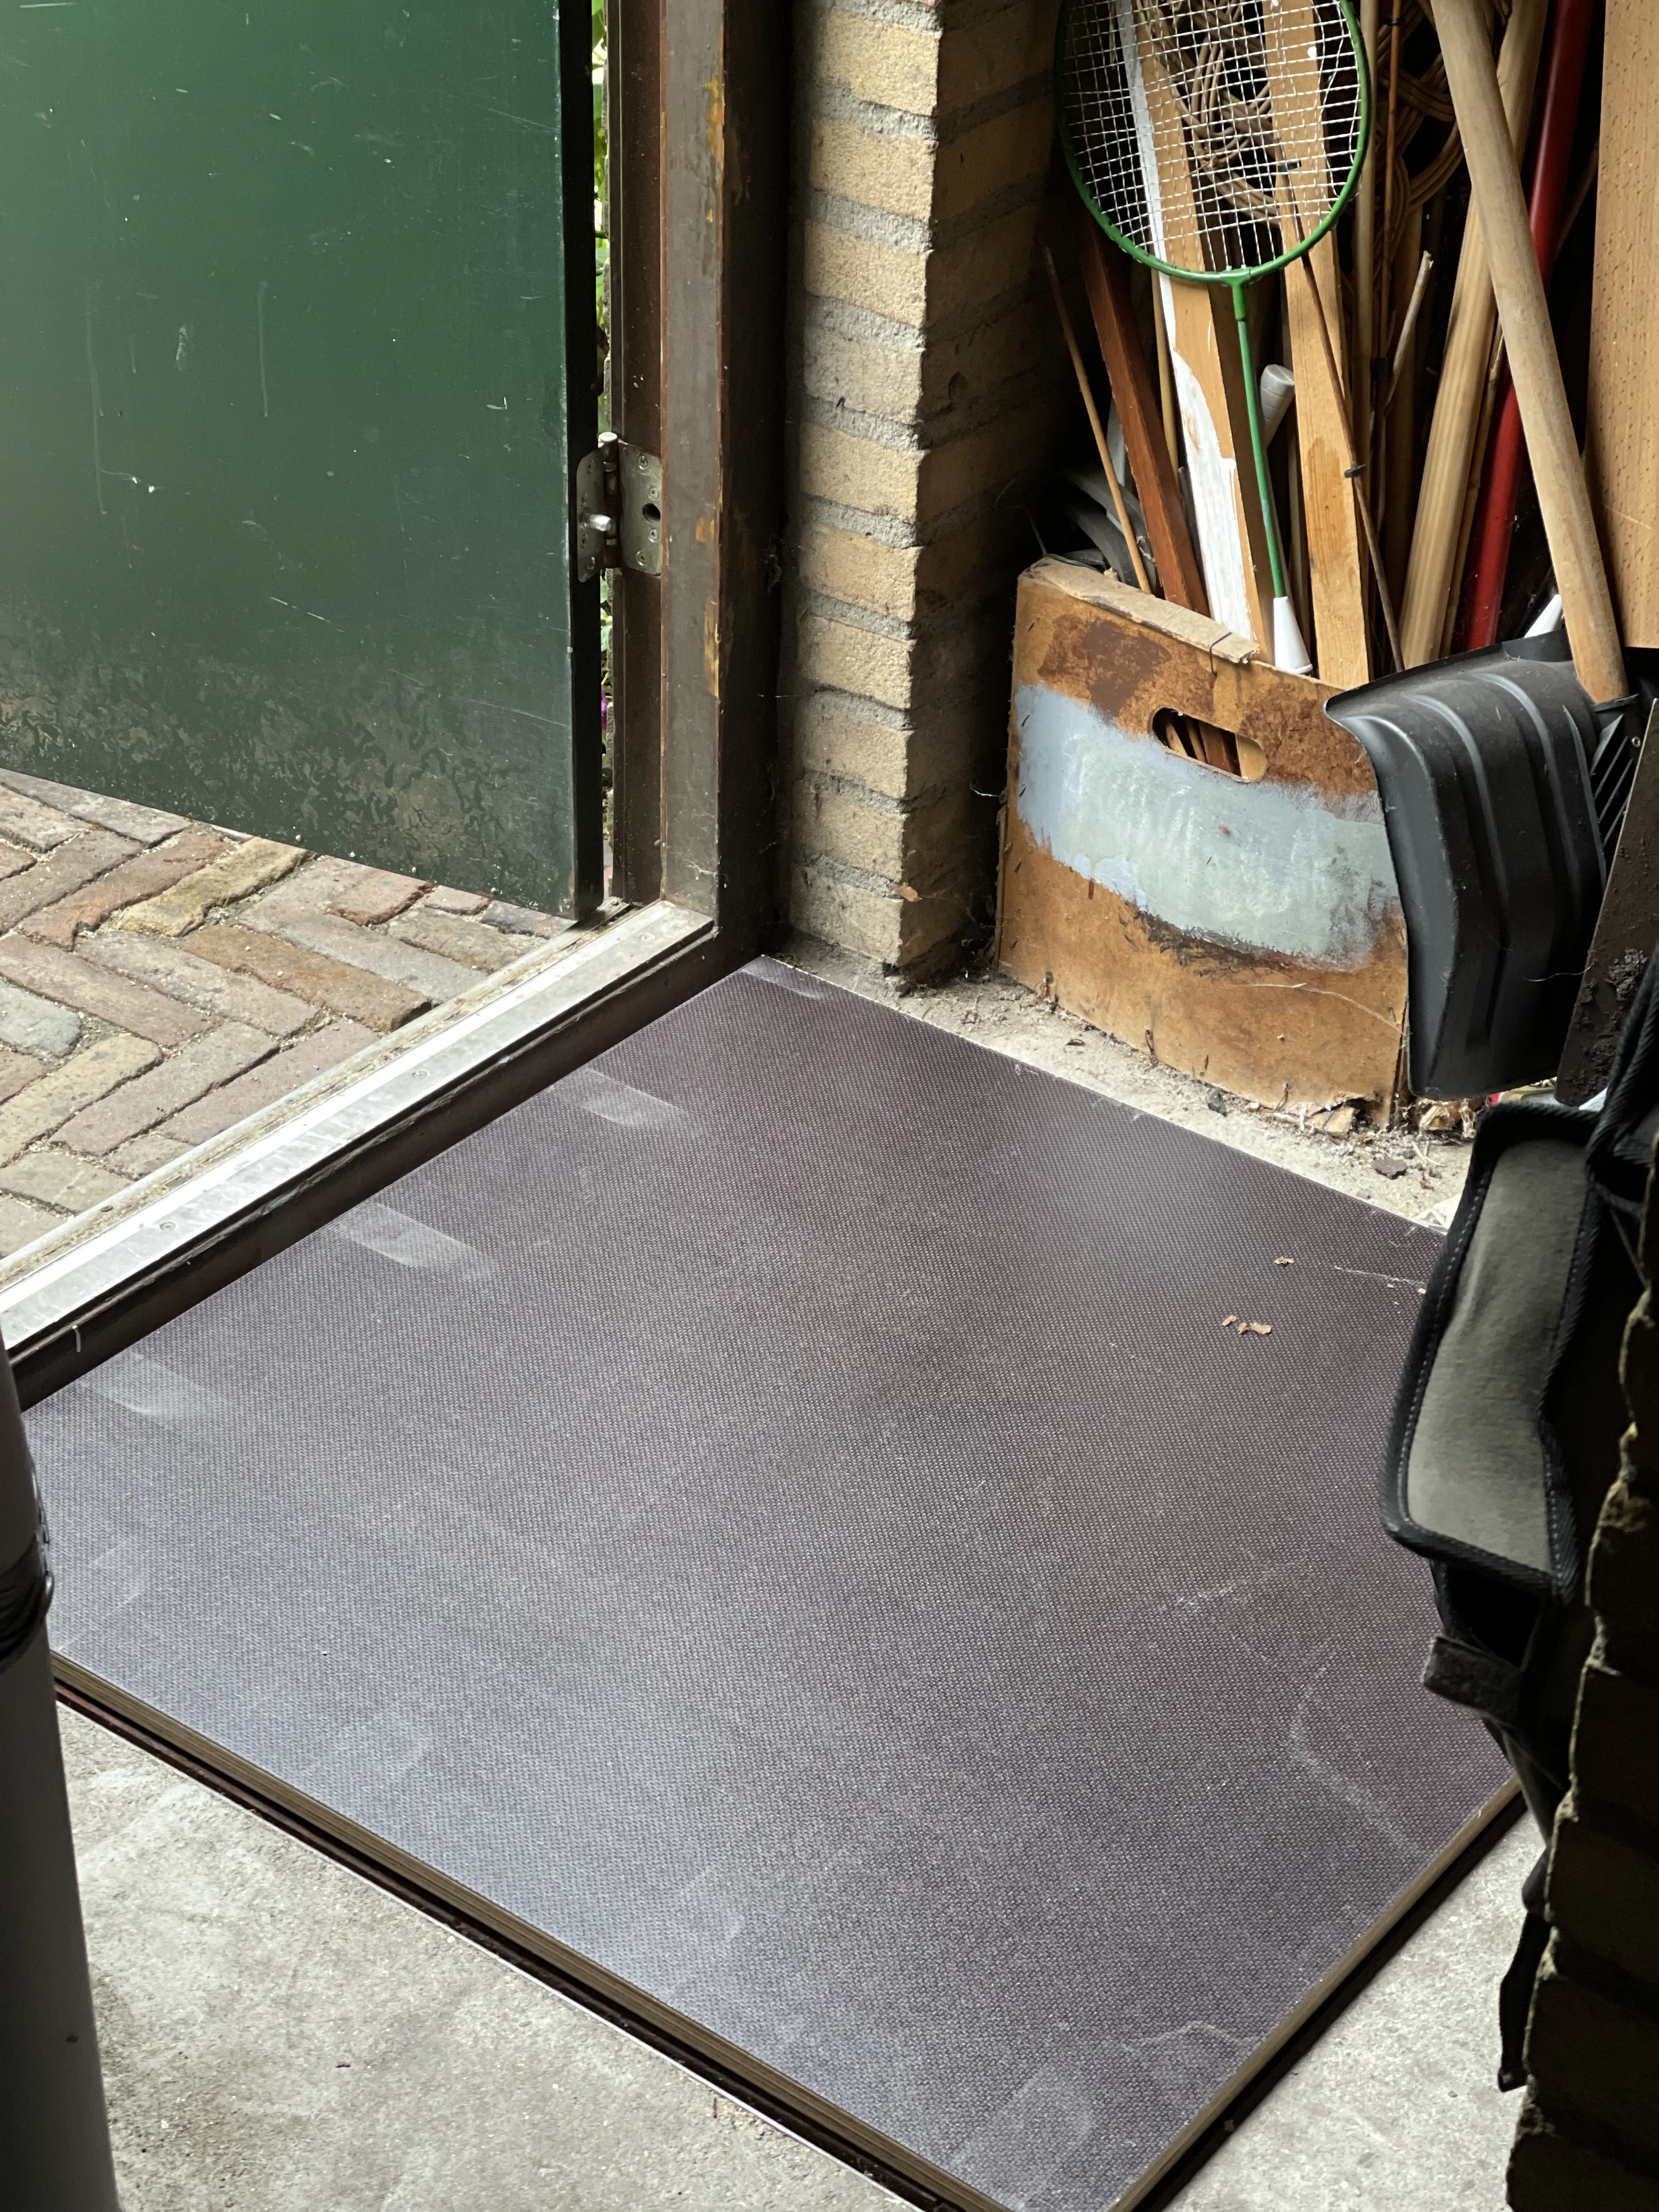
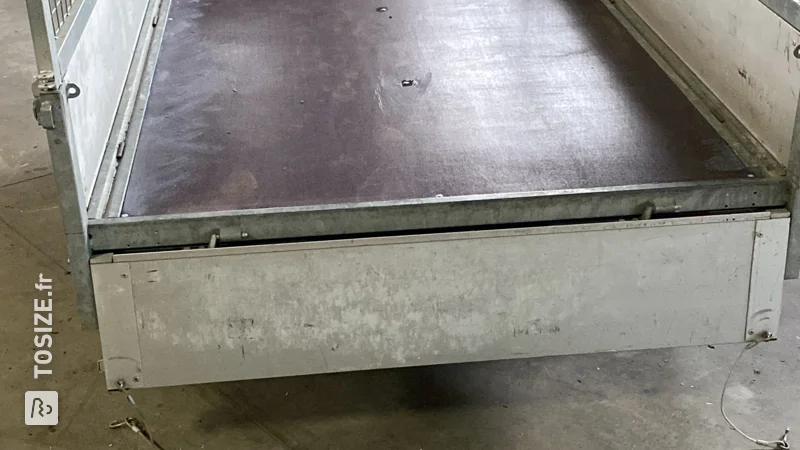
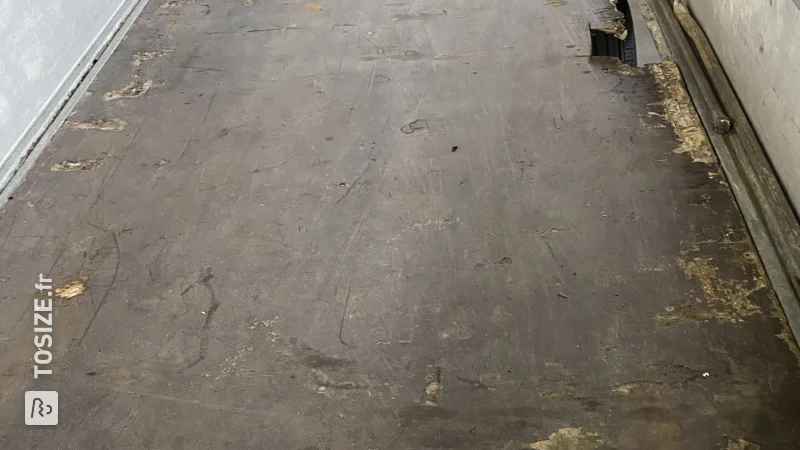
Under the front doormat there are a few plates to close the crawl hatch and to raise it to floor level. The existing panels were in dire need of replacement!
How I made this project
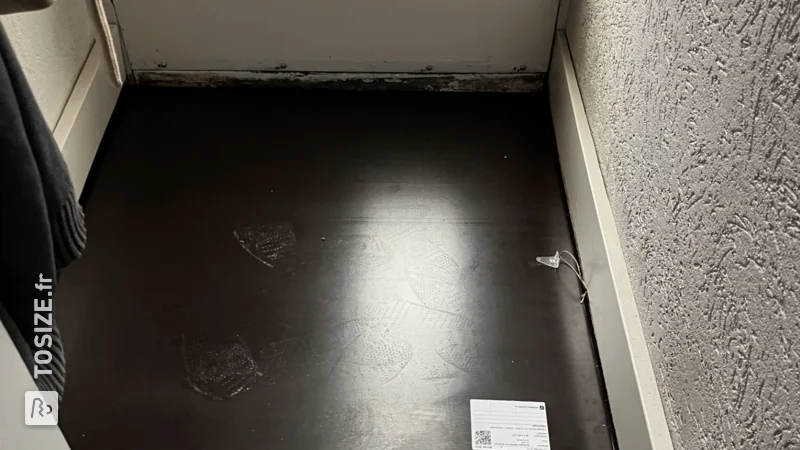
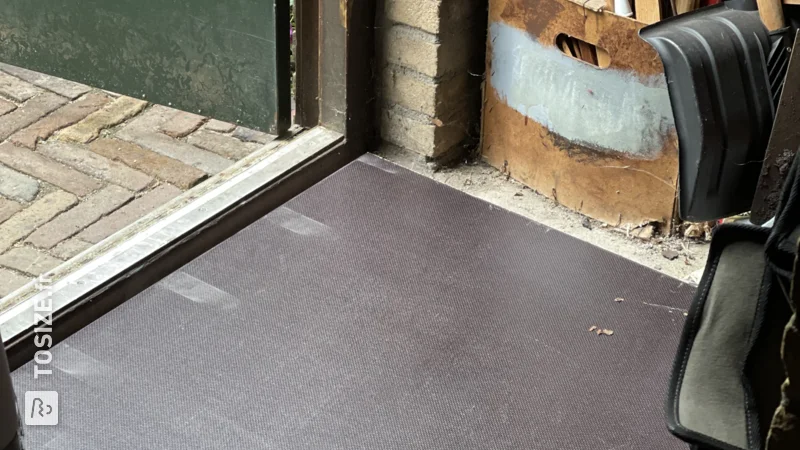
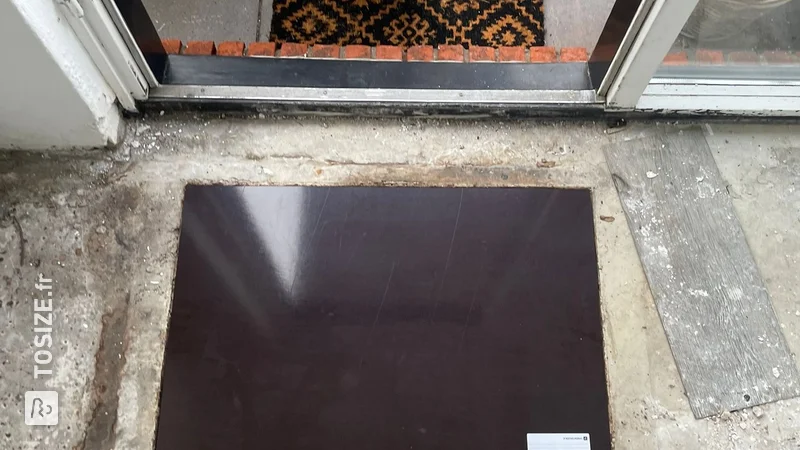
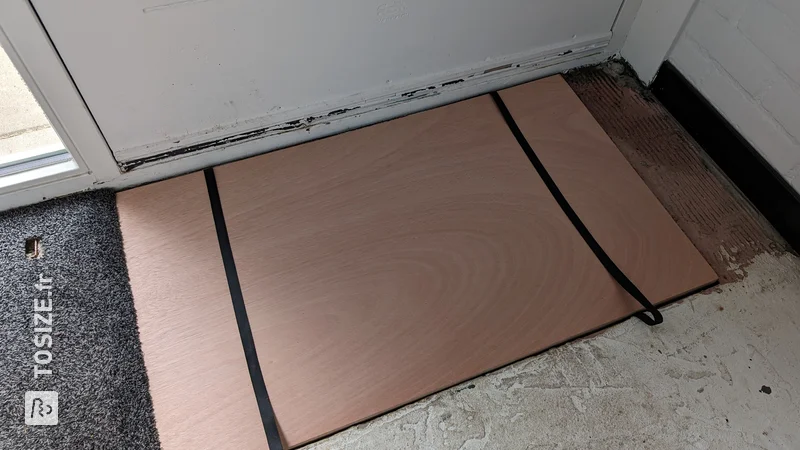
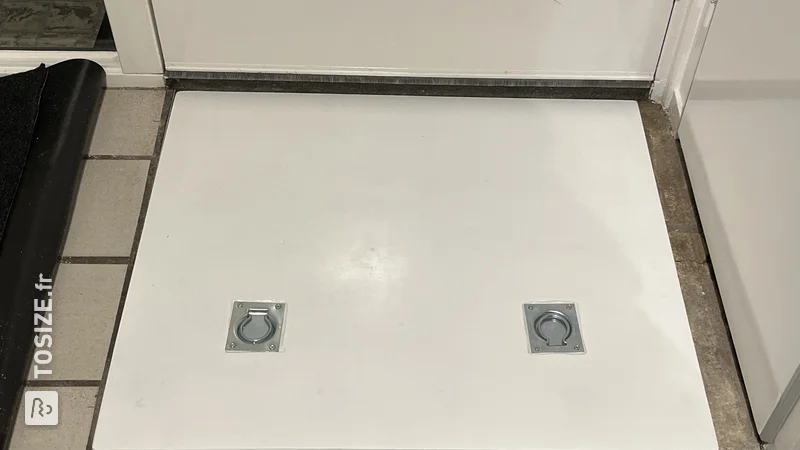
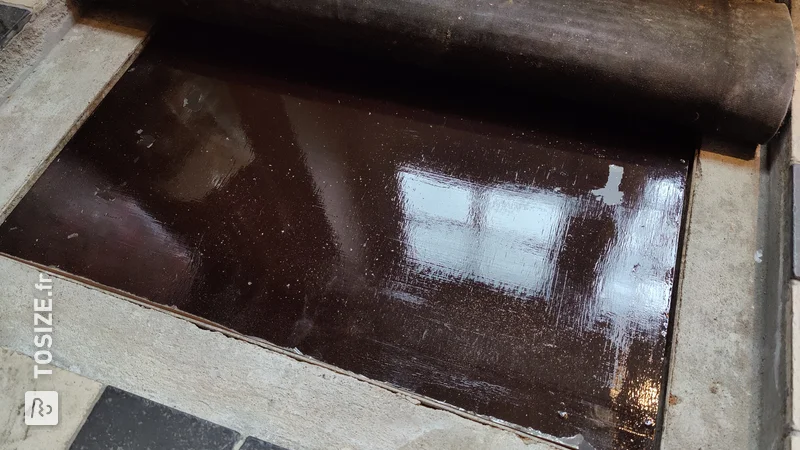
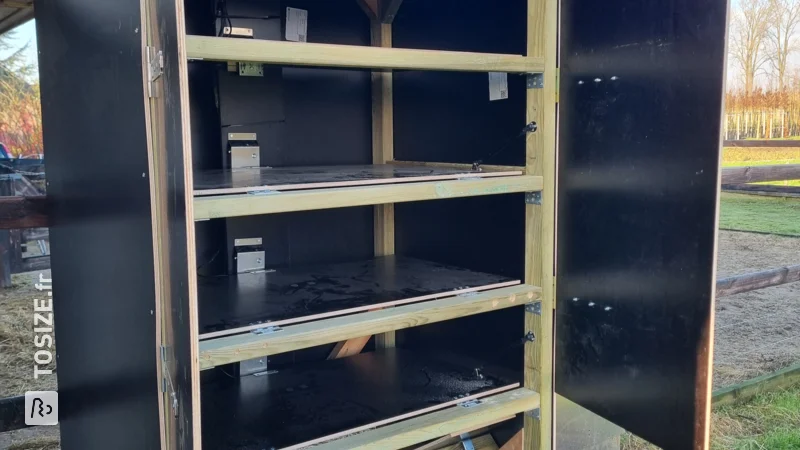
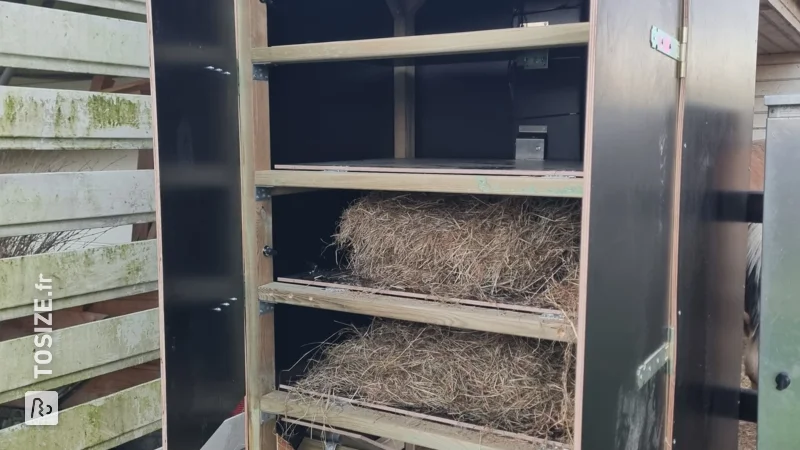
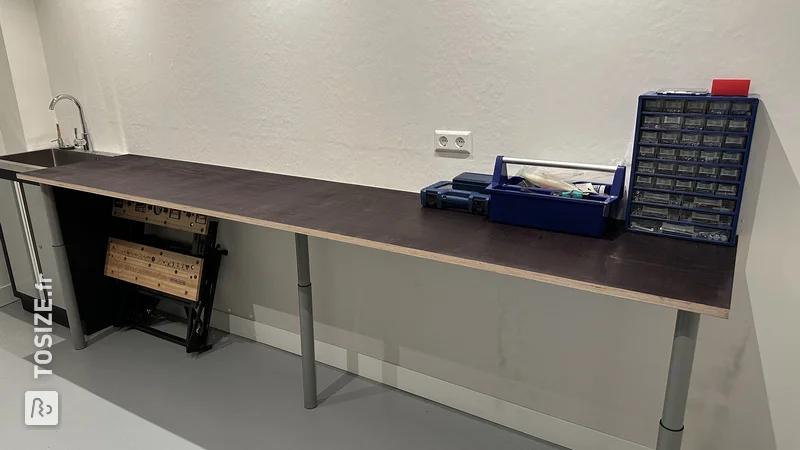
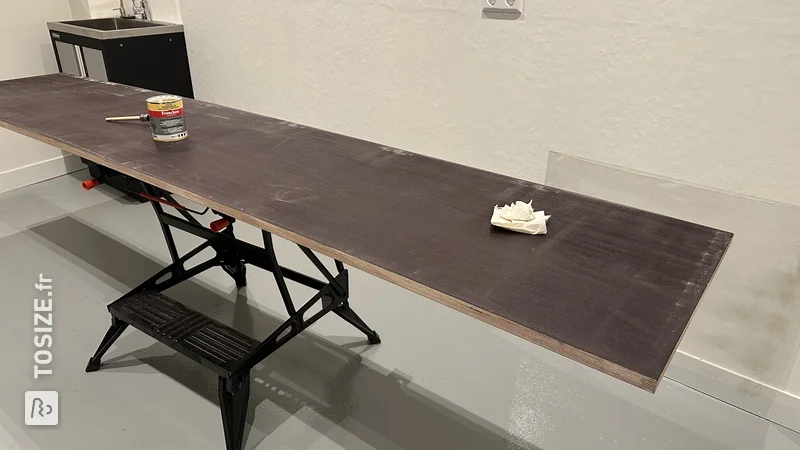
Due to the humid conditions in the crawl space, I opted for concrete plywood, ordered cut to size in the webshop. * Crawler hatch - single 18mm plate * Raise plate - 18 and 12mm, fitted together to achieve the required 30mm rise. Photo 1 --> What needed to be replaced Photo 2 --> the 3 plates Photo 3 --> The 18 and 12 mm plates are clamped together and are then attached to each other with stainless steel screws. Then I make holes with a 25mm speed drill, so that I can easily pick up the plates when the crawl hatch needs to be opened. Photo 4 --> Due to the humid environment, the sides and boreholes must be treated with a moisture repellent. WoodSeal is perfect for that! Photo 5 and 6 --> The new plates in place!
Dimensions of my DIY project
Crawling hatch plate: 85.0 x 48.0 cm x 1.8 cm
Raising plate: 119 .0 x 72.5 cm x 1.2 cm
Tip! Also check out our handy DIY tips!
What now?
Want to make this DIY project? Check out Roel's saw list and complete your order easily.
180,07 €
View all sheet materials
More DIY Projects
What others made with Phenolic plywood

Also check out these similar DIY projects
View all projects